
Stirling Bridge
Battle of Stirling Bridge was a battle
of the First War of Scottish Independence. On 11
September 1297, the forces of Andrew Morey and William Wallace defeated the combined
English forces near Stirling, on the River Forth.
The small bridge at Stirling was only broad enough to allow two horsemen to cross abreast. The Scots deployed in a commanding position dominating the soft, flat ground to the north of the river. Sir Richard Lundie, a Scots knight who joined the English after the capitulation at Irvine, offered to outflank the enemy by leading a cavalry force over a nearby ford, where sixty horsemen could cross at the same time.
Hugh
Cressingham, King Edward's treasurer in Scotland, was anxious to avoid any
unnecessary expense in prolonging the war and he persuaded the Earl to reject
this advice and order a direct attack across the bridge.
The Scots waited as the English knights and infantry made their slow progress across the bridge on the morning of 11 September. When the vanguard, comprising 5,400 English and Welsh infantry plus several hundred cavalry, had crossed the Bridge, the attack was ordered. The Scots spearmen came down from the high ground in rapid advance towards Stirling Bridge, quickly seizing control of the English bridgehead. De Warenne's vanguard was now cut off from the rest of the army. The heavy cavalry to the north of the river was trapped and cut to pieces, their comrades to the south powerless to help Hugh de Cressingham, whose body was subsequently flayed and the skin cut into small pieces as tokens of the victory.
The Lanercost Chronicle records that Wallace had "a broad strip [of
Cressingham’s skin] ... taken from the head to the heel, to make therewith a
baldrick
for his sword". Losses among the infantry, many of them Welch,
were also high. Those who could throw off their armour swam across the river.
De Warenne ordered the bridge's destruction and retreated towards Berwick, leaving the garrison at Stirling Castle isolated and abandoning the Lowlands to the rebels. James Stewart, the High Steward of Scotland, and Malcolm, Earl of Lennox, whose forces had been part of Surrey's army, observing the carnage to the north of the bridge, withdrew.
The site of the battle is believed to have been
significantly upstream of the present-day Stirling Bridge, which was only built
some time later. The piers of the older wooden bridge are close to the 15th
century stone "Old Stirling Bridge", which is upstream of the modern
road and rail bridges.
The Battle of Stirling
Bridge was a shattering defeat for the English: it showed that under certain
circumstances infantry could be superior to cavalry. It was to be some time,
though, before this lesson was fully absorbed.
Contemporary English
chronicler Walter of Guisborough recorded the
English losses in the battle as 100 cavalry and 5,000 infantry killed. Scottish
casualties in the battle are unrecorded, with the exception of Andrew Moray. He
appears to have been injured in the battle and died of his injuries around
November.
The Battle of Stirling
Bridge is depicted in the 1995 film Braveheart, but it
bears little resemblance to the real battle, there being no bridge (due mainly
to the difficulty of filming around the bridge itself) and the tactics
resembling the Battle of Banbnockburn. The main
strategic events of the battle (but obviously not the detail) are followed in
Robyn Young's novel Requiem.
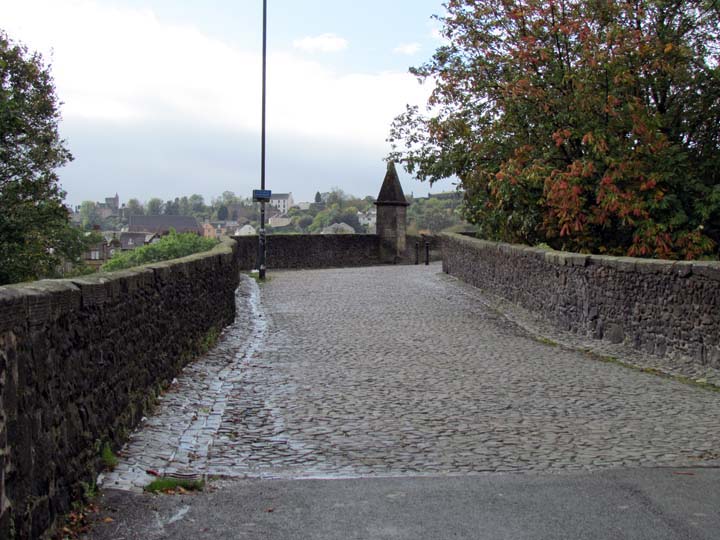
The present day bridge
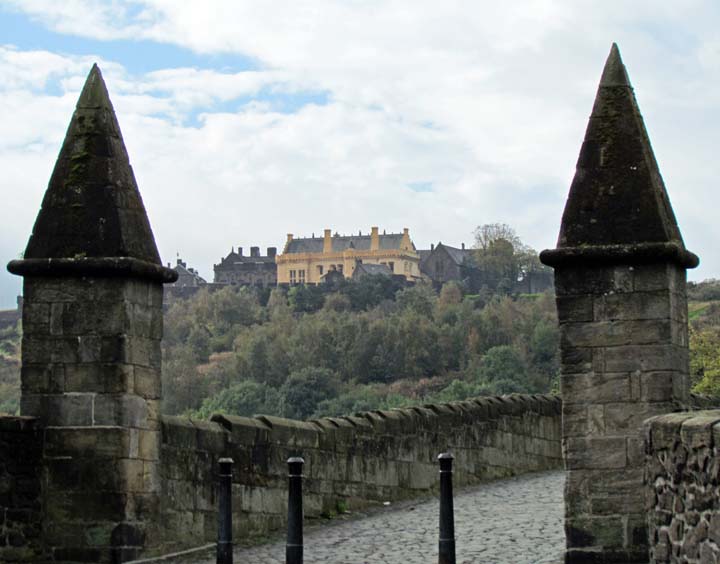
A great view of Stirling Castle from the bridge
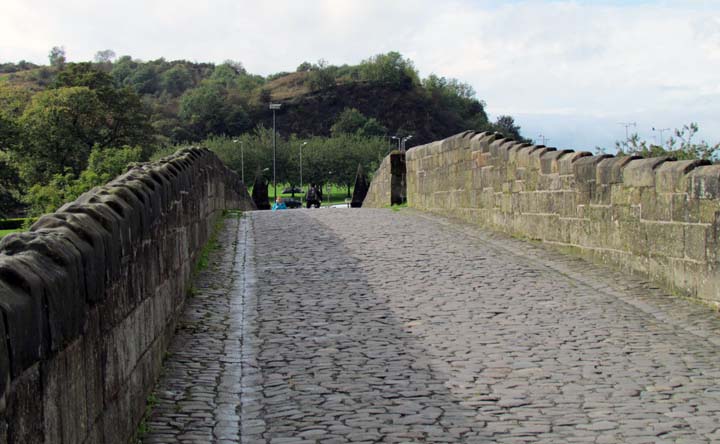
The highest point on the bridge
At the bend above, where many think the original bridge stood
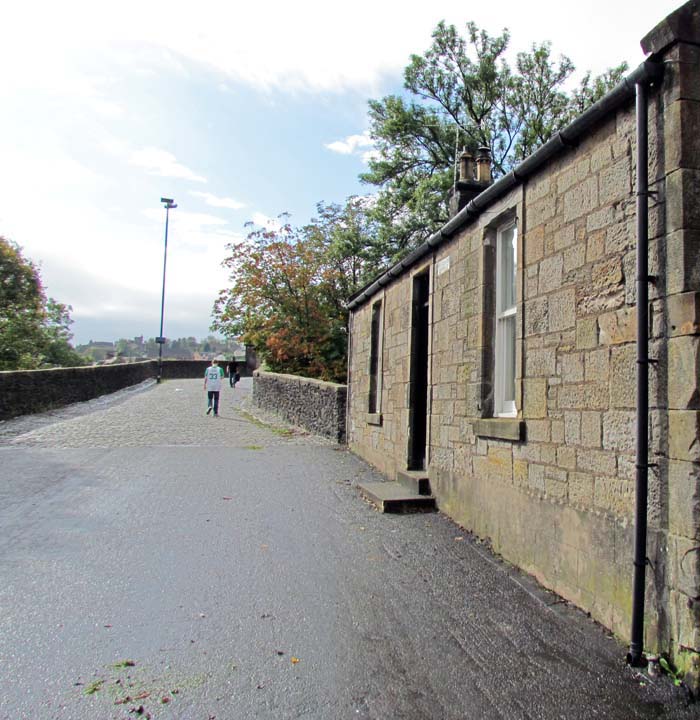
What almost appears to be a tool house at the end of the bridge -
but no information was found one way or the other
Looks almost occupied
And we're on our way
~ ~ ~ ~ ~ ~ ~ ~ ~ ~ ~ ~ ~ ~ ~ ~ ~ ~ ~ ~ ~ ~ ~ ~ ~ ~ ~ ~ ~ ~ ~ ~ ~ ~ ~ ~ ~ ~ ~ ~ ~